How to Install Side Mount Drawer Slides Effectively and Easily?
Installing Side Mount Drawer Slides can be a straightforward task if approached with the right knowledge and tools. According to industry reports, nearly 70% of homeowners prefer upgrading their drawer systems for better functionality. This trend highlights the importance of effective installation techniques. Proper installation ensures durability and enhances the overall kitchen and storage organization.
However, achieving a professional finish is not as simple as it seems. Many DIY enthusiasts face challenges, leading to frustration and subpar results. In fact, a significant percentage of users, up to 40%, admit they have to redo their installations due to common mistakes. Accurate measurements and alignment are crucial in this process. Attention to detail is key, as even slight misalignments can cause drawers to jam or operate poorly.
This guide aims to simplify the complexities of Installing Side Mount Drawer Slides. With the right tips and insights, you can minimize mistakes and achieve an efficient drawer system. Remember, every installation is an opportunity to learn and enhance your skills. Embrace the journey and enjoy transforming your spaces.
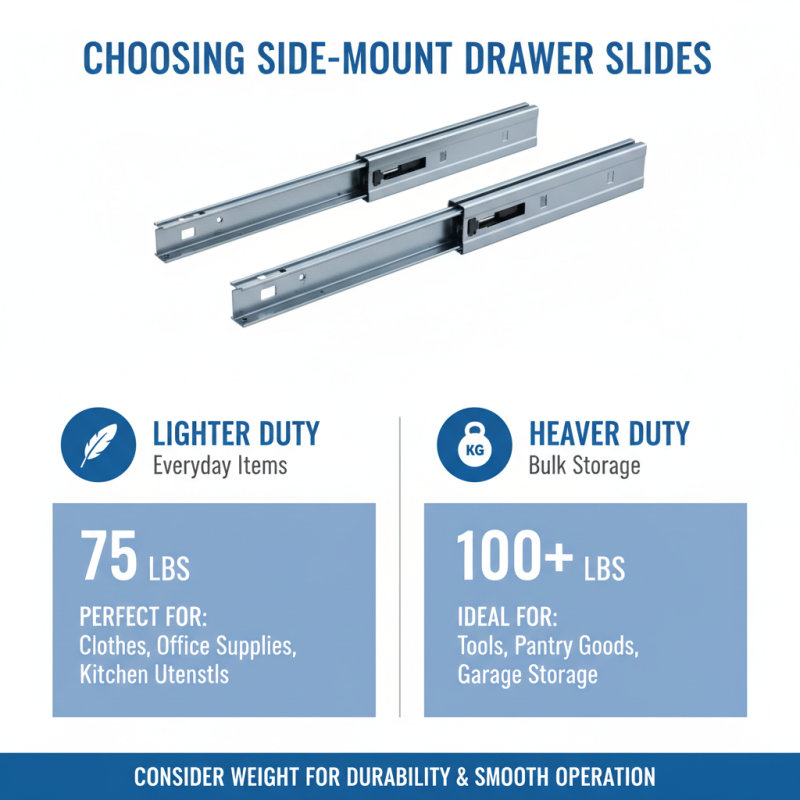
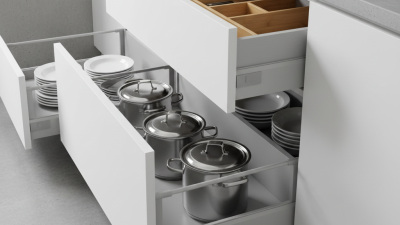
Choosing the Right Side Mount Drawer Slides for Your Project
Choosing the right side mount drawer slides is crucial for any project. Consider the weight of the items you plan to store. Slides come in different weight ratings. For lighter drawers, 75-pound slides may suffice. For heavier items, consider slides rated for 100 pounds or more.
Next, think about the length of the slides. Measure your drawers carefully. A standard slide length ranges from 10 to 28 inches. If the length is off, the drawers won’t open or close properly. Additionally, check the materials used; steel slides tend to be more durable than plastic ones.
Don’t overlook installation ease. Some slides feature built-in soft-close mechanisms. These can enhance user experience but may complicate installation. Reflect on your skill level before choosing. Sometimes, simpler slides suffice, especially for beginner projects. In the end, what matters is finding a balance between functionality and your specific needs.
Preparing the Drawer and Cabinet for Installation
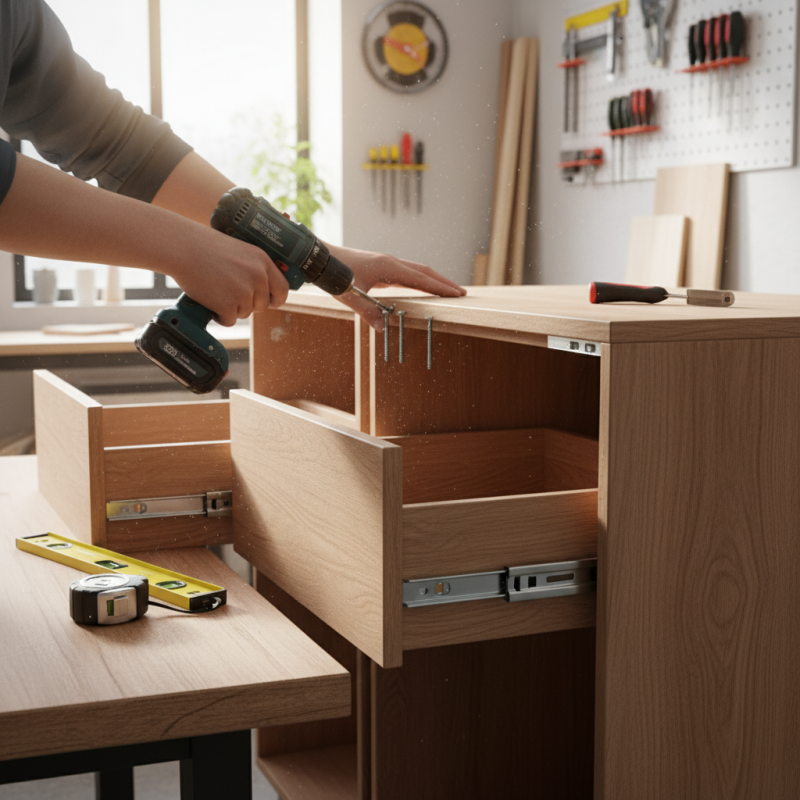
Preparing the drawer and cabinet for installing side mount drawer slides is a crucial step. Start by measuring the width and depth of the drawer. Ensure that the dimensions match your cabinet's opening. A snug fit is essential, but extra space can lead to wobbling. Use a level to check if the cabinet is even. An unlevel cabinet will cause the drawer to slide poorly.
Next, pay attention to the drawer box. Sand any rough edges or splinters to prevent injuries. Clean both the drawer and the cabinet thoroughly. Dust and debris can interfere with the slides, making installation harder. Mark the locations for the slides, ensuring they align properly. Use a square to help maintain accurate angles. This detail can significantly affect the smoothness of the drawer's movement.
While drilling holes for the screws, take care not to go too deep. Overshooting can weaken the wood. It’s a good idea to start with pilot holes. Remember that mistakes happen; maybe you drilled in the wrong spot. Don't rush; it's essential to take your time and make adjustments if necessary. This will lead to a more manageable installation process in the end.
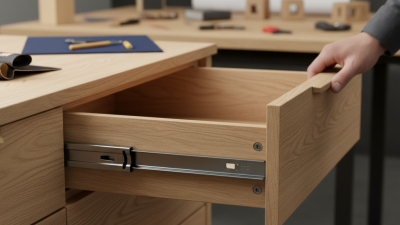
Step-by-Step Guide to Installing Side Mount Drawer Slides
Installing side mount drawer slides is a practical task that can improve the functionality of your cabinets. These slides offer smooth operation and are easy to fit, making them popular in renovations.
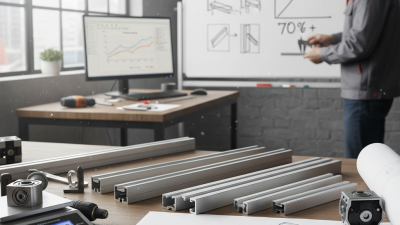
According to a report by the Kitchen Cabinet Manufacturers Association, nearly 80% of consumers prioritize ease of access when choosing drawers. This shows the importance of proper installation.
To start, measure the depth and width of the drawer. Ensure you have a clear understanding of the space available. Align the slide correctly with the marked locations. Using a drill, carefully attach the slides to the sides of the drawer. It’s essential to keep everything level. An uneven installation may lead to issues later on.
Tip: Use a spacer block during installation. This helps ensure that the slides are equidistant from the drawer’s edge, preventing future misalignment. Remember to check the fit. If the drawer doesn’t glide smoothly, reassess the alignment. Adjust if necessary. Sometimes, we overlook simple details that can make a big difference in functionality. Attention to these nuances can help achieve a perfect fit.
Adjusting and Testing Drawer Smoothness After Installation
After installing side mount drawer slides, adjusting and testing for smoothness is crucial. The drawer should glide effortlessly in and out. First, check the alignment of the slides. Any misalignment can cause friction and noise. Use a level to ensure everything is straight. If the slides are uneven, make minor adjustments. Simply loosen the screws, then reposition and retighten them.
Testing comes next. Open the drawer slowly. It should move smoothly without resistance. If it sticks, identify the area causing friction. Sometimes, it’s as simple as a slight obstruction in the path. A small adjustment can make a significant difference. Additionally, listen for any unusual sounds. Squeaking or grating noises may indicate that something isn’t right.
Keep in mind, not every installation will be perfect on the first try. You might need to go back and make further adjustments. Don't rush this process. Take your time to achieve the best result. Testing and refining may seem tedious, but it ultimately enhances the usability of your drawers.
Drawer Smoothness Testing Results