What is the Best Way to Install Side Mount Drawer Slides?
Installing side mount drawer slides is an essential skill for DIY enthusiasts and professional carpenters alike. According to a report from the Woodworking Industry Association, proper installation significantly enhances drawer stability and lifespan. Well-installed slides ensure smooth operation, reducing wear and tear over time. This increased durability is crucial, as studies show that poorly installed hardware leads to 30% more product returns.
A well-executed installation requires attention to detail. Aligning slides correctly can seem simple but often trips up novices. It's worth noting that 20% of DIY projects fail due to misalignment. Small errors can result in drawers sticking or wobbling, creating frustration. Reflection on these challenges can improve future installations.
Adhering to industry standards is key. Guidelines from the Cabinet Makers Association provide valuable insights into slide selection and positioning. Being aware of best practices not only enhances craftsmanship but also elevates the overall quality of the project. Skills in installing side mount drawer slides can be honed with practice, leading to more satisfying results.
Understanding Side Mount Drawer Slides and Their Components
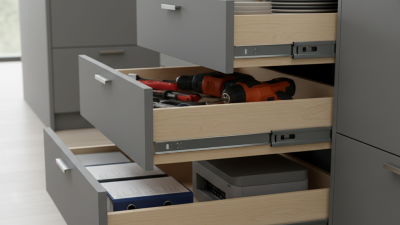
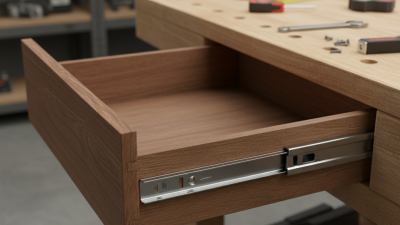
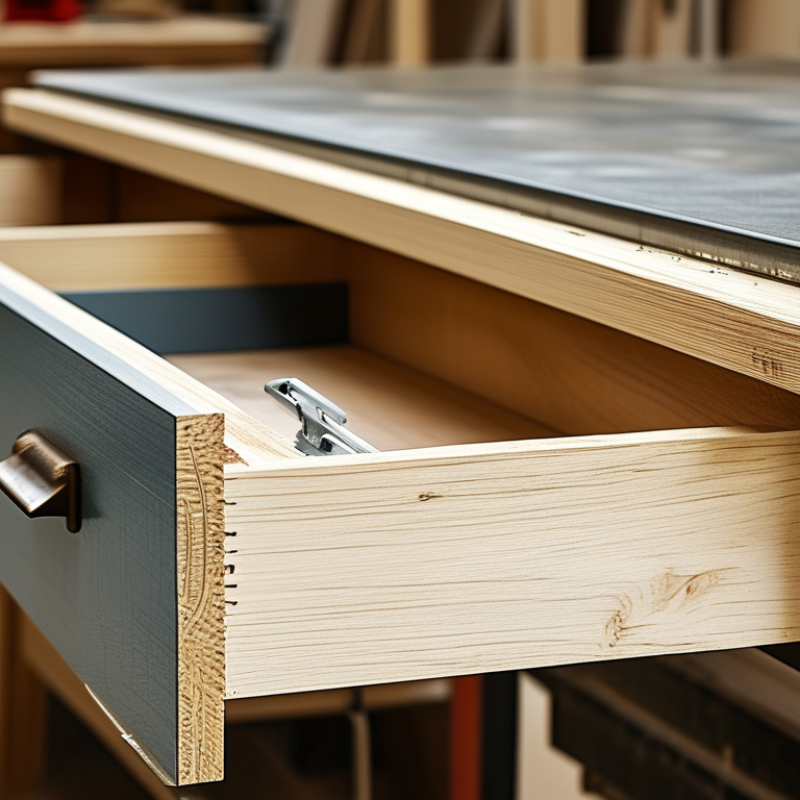
Side mount drawer slides are essential for effective drawer operation. Understanding their components is crucial for proper installation. Typically, these slides consist of two metal rails attached to the cabinet and the drawer side. The glide mechanism allows smooth movement. Reports indicate that improper installation can lead to issues such as misalignment and poor durability, which can significantly affect user experience.
One interesting detail is that the length of the slide affects the load capacity. Generally, a 16-inch slide can support up to 100 pounds of weight. However, users often overlook the importance of choosing the right length and weight capacity. A mismatch can lead to failures over time. Many professionals recommend measuring the drawer's internal dimensions before making a selection.
Proper alignment is also vital for function. Some users do not account for the precise installation of these components. Slight misalignments can lead to unnecessary wear. Research emphasizes that professional installation can reduce failures by up to 30%. Therefore, attention to detail in the installation process is essential for long-lasting performance.
Tools and Materials Required for Installation of Side Mount Drawer Slides
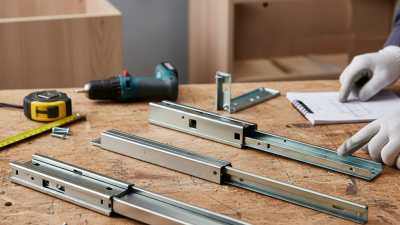
Installing side mount drawer slides can greatly improve your storage solutions. Before you begin, gather the right tools and materials. Key items include a power drill, a screwdriver, a measuring tape, and the drawer slides themselves. Using quality materials ensures durability and functionality. Industry statistics show that about 30% of DIY projects fail due to inadequate preparation. This underscores the importance of having everything ready before starting.
Make sure to measure your drawer and cabinet space accurately. This step is critical; according to the National Kitchen and Bath Association, improper measurements account for over 50% of installation errors. After measuring, mark the locations for the slides on both the drawer and the cabinet. Use a level to ensure accuracy. You can avoid common mistakes by double-checking your markings.
Tips: Consider practicing on scrap wood first. This allows you to refine your technique without the pressure of a final product. After installation, test the drawers multiple times. This will help identify any issues early. Remember, even experienced DIYers encounter challenges, so stay patient and open to adjustments during the process.
Step-by-Step Guide to Installing Side Mount Drawer Slides
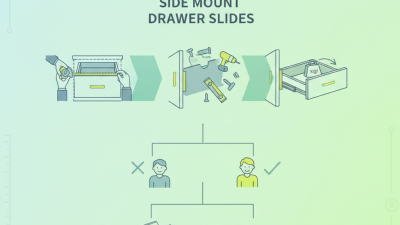
Installing side mount drawer slides can enhance your cabinetry’s functionality. A well-executed installation can lead to smooth sliding and longevity. According to industry surveys, improper installation is a common mistake. Up to 30% of drawer slide failures are due to user errors during assembly and installation.
Start by measuring the drawer’s width accurately. Ensure that you have enough clearance on both sides. Misalignment, even by a few millimeters, can cause issues. Most experts recommend using a level to mark anchor points. This step is crucial for achieving a balanced installation. It takes just a few minutes, but it can prevent frustration later.
When attaching the slides, achieving a tight fit is key. Most slides come with specific instructions. Ignoring these can lead to uneven movement or premature wear. Ensure you are using the correct screws. Cheap or incorrect screws can strip easily, leading to more significant issues down the line. Regular maintenance checks after installation are vital for prolonged use. Even the perfect installation can face wear over time. Reflecting on your methods post-installation can yield insights for future projects.
Common Mistakes to Avoid When Installing Drawer Slides
Installing side mount drawer slides can be tricky. Many people make common mistakes that can lead to frustration and poor results. Understanding these pitfalls can save you time and make the process smoother.
One common mistake is failing to measure accurately. Ensure you measure the drawer opening and the slides precisely. A slight miscalculation can result in gaps or an uneven fit. Remember to consider the slide length and the depth of the drawer. It’s essential to check your measurements multiple times.
Another mistake is not using a level. Without a level, your slides may end up crooked. This can affect how smoothly the drawers open and close. Take a moment to check alignment before securing the slides. A level can help verify the equality of both sides.
Tips: Use a screwdriver, not a power drill, for greater control. This reduces the risk of stripping screws and damaging the wood. Also, test the slides before fully fastening them. Ensure that everything moves freely and is correctly aligned. Adjustments are easier at this stage.
Take your time. Rushing can lead to mistakes. Patience will pay off in the long run, giving you drawers that work perfectly. A little attention to detail can make a significant difference. Happy installing!
What is the Best Way to Install Side Mount Drawer Slides? - Common Mistakes to Avoid When Installing Drawer Slides
| Dimension |
Measurement |
Common Mistake |
Correction Tips |
| Drawer Width |
Measure inside width |
Not accounting for side walls |
Subtract side clearance when measuring |
| Drawer Height |
Measure from bottom to top |
Ignoring slide thickness |
Include thickness in height measurement |
| Screw Length |
Same as slide clearance |
Using screws that are too long |
Choose screws that fit without protruding |
| Leveling Drawer |
Check before installation |
Mounting without leveling |
Use a level during installation |
| Cabinet Depth |
Measure inside depth |
Not verifying depth |
Double-check before cutting drawer |
Tips for Maintaining and Troubleshooting Side Mount Drawer Slides
Maintaining side mount drawer slides requires attention to detail and regular inspection. These slides can handle substantial weight, often recommended for loads up to 100 pounds. However, moisture exposure can lead to rust and corrosion. A study by the National Association of Home Builders suggests that nearly 30% of drawer-related issues stem from improper maintenance.
Regular cleaning is vital. Dust, dirt, and debris can obstruct the smooth operation of slides. Wipe down the rails and ensure they are free from particles. Sometimes, they might not glide smoothly. In that case, removing the drawer and checking the alignment is a good step. Misalignment often occurs due to wear or improper installation. This misalignment can cause uneven weight distribution, leading to further operational issues.
Another aspect to consider is lubrication. A silicone-based lubricant can minimize friction and prolong lifespan. However, over-lubrication is possible, which can attract dust, worsening performance. According to reports, about 20% of users overlook this detail. Addressing minor issues quickly can save time and money in the long run. Regular check-ins on your drawer slides can prevent unexpected breakdowns, enhancing their reliability.
Performance Overview of Side Mount Drawer Slides
This chart showcases the performance ratings of side mount drawer slides based on five essential features: Ease of Installation, Durability, Weight Capacity, Smooth Operation, and Cost. Each feature is rated on a scale from 1 to 10, providing a visual reference for evaluating the best options available in the market.