Top Tips for Installing Side Mount Drawer Slides Easily?
Installing side mount drawer slides can seem daunting. However, with the right approach and tips, the process becomes more manageable. Expert carpenter John Murphy once stated, "Precision is key when installing side mount drawer slides." His words emphasize the importance of accuracy in this task.
It is crucial to take time during measurements. Inaccuracies can lead to drawers that don’t open smoothly. Using the right tools makes a significant difference. A level, a drill, and a measuring tape are essential for installing side mount drawer slides effectively. Many first-time installers overlook these tools; they often face unnecessary challenges.
Consider practicing on a scrap piece of wood. This allows you to refine your technique before working on your actual drawers. Mistakes are part of the learning process, and acknowledging them is essential for improvement. With experience and the right knowledge, anyone can master installing side mount drawer slides effectively.
Understanding Side Mount Drawer Slides: Types and Specifications
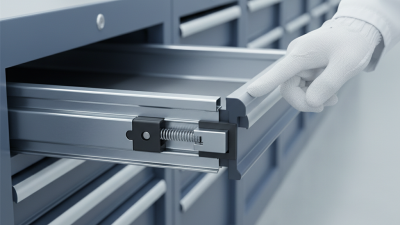
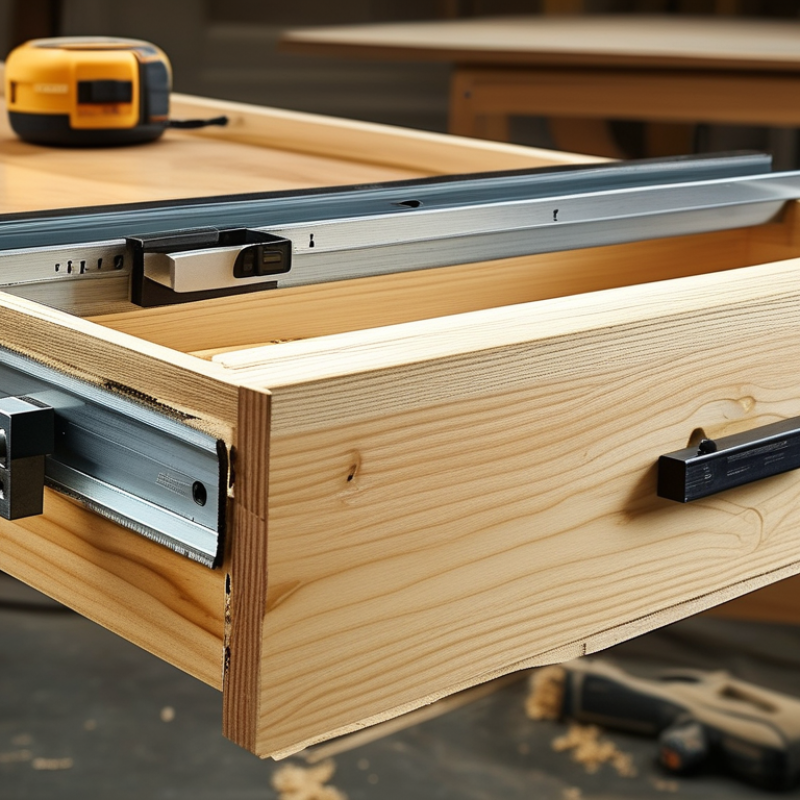
When it comes to side mount drawer slides, understanding their types and specifications is essential. These slides are designed to support drawers and provide smooth movement.
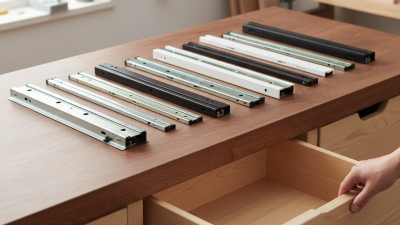
Two common types are ball-bearing slides and roller slides.
Ball-bearing slides offer better weight capacity and durability, making them ideal for heavy drawers.
Roller slides are simpler and often less costly, best suited for light to medium usage.
Specifications are crucial for installation. Check the slide length, weight rating, and clearance requirements. Each drawer needs an appropriate slide system for optimal function.
It’s important to recognize that not all drawers are created equal.
Misunderstanding sizing or weight limits can lead to malfunction. Many fail to account for the drawer’s usage intensity, affecting slide longevity.
Consider installation errors as learning experiences. Some people overlook the importance of leveling. If the slides are not level, the drawer may bind or not close properly.
Double-checking measurements can save time.
Remember, taking the time to understand the specifications will ensure long-lasting success.
Preparing Your Workspace: Tools and Materials Required for Installation
Preparing your workspace is crucial for the successful installation of side mount drawer slides. Start by gathering essential tools like a power drill, measuring tape, and a level. A square and pencil are needed for marking. You'll also need screws, which should be compatible with your slides. These materials set the foundation for a smooth process.
Clean and organize your workspace. Remove any clutter to maximize space. Lay out your tools and materials for easy access. This helps reduce frustration during installation. If you encounter difficulties, such as misaligned slides, assess your initial measurements. Adjustments may be necessary. Be prepared for minor setbacks; they are part of the learning process.
Consider lighting as well. A well-lit area can prevent mistakes and ensure accurate alignment. You might struggle with visibility in tight spaces. A good flashlight or work lamp can help illuminate dark corners. Remember, taking your time in preparation will lead to better results during installation.
Measuring and Marking: Ensuring Accurate Placement for Optimal Functionality
Accurate measurement is crucial for installing side mount drawer slides. Research indicates that improper measurements can lead to misaligned drawers and decreased functionality. According to industry reports, over 25% of DIY projects fail due to measurement errors. Start by measuring the width and depth of your drawer opening. Using a reliable tape measure ensures precision. Mark these measurements clearly on the mounting surface to avoid confusion.
Be mindful of the slide placement. Generally, the top of the slide should align with the top edge of the drawer. A common mistake is to neglect equal spacing. This can cause uneven drawer movement. Consider using a level to mark a horizontal line across the mounting surface. It's recommended to leave a small gap—typically 1/8 inch—between the drawer and the slide. This gap can allow for smooth operation, reducing friction.
While the process may seem straightforward, many overlook small details. Double-checking measurements and markings can prevent issues down the line. Consider revisiting your marks after a break, as fresh eyes can catch mistakes. This attention to detail directly influences the drawer’s durability and function. According to installation experts, spending time on this phase leads to long-lasting results.
Step-by-Step Installation: Techniques for Aligning and Securing Slides
When installing side mount drawer slides, alignment is crucial. According to industry data, misalignment can lead to reduced durability and functionality. Align slides horizontally and vertically using a level. This ensures that drawers operate smoothly over time.
Securing the slides properly is equally important. Use a drill with appropriate screws to fasten each slide firmly. Ensure the slide is flush against the cabinet side. Inaccurate screwing can cause gaps, leading to drawer wobbling. Research indicates that 25% of installation errors stem from poor screw placement.
Regular checks on the slides after installation can identify potential issues. Even a slight misalignment can lead to significant functional problems later on. Patience is important during this process. Rushing can result in errors that compromise overall quality. Always make adjustments where necessary to enhance the final outcome.
Drawer Slide Installation Time Comparison
Troubleshooting Common Issues: Ensuring Smooth Operation Post-Installation
When installing side mount drawer slides, ensuring smooth operation post-installation is crucial. Common issues often arise, and troubleshooting them can save time and effort. One frequent problem is misalignment. If the slides are not parallel, the drawer will stick. Measure carefully before installation. Make small adjustments as needed to ensure everything lines up perfectly.
Another issue is loose screws. Over time, vibration can loosen the hardware. Check the screws periodically to maintain stability. Tighten them if necessary. This simple step can prevent larger problems later on. Remember, a well-installed slide operates quietly and smoothly.
For added durability, consider using a level when installing. An unlevel kitchen or drawer area can lead to more challenges in the future. If your slides feel stiff, examine for obstructions that may have been overlooked. Clear these out, and lubricate the slides for easier movement. Taking these troubleshooting tips into account can significantly enhance the functionality of your drawers.
Top Tips for Installing Side Mount Drawer Slides Easily
| Tip Number |
Installation Tip |
Common Issues |
Troubleshooting Steps |
| 1 |
Measure the Drawer Space |
Drawer slides do not fit properly |
Double-check the measurements and ensure slides are compatible. |
| 2 |
Choose the Right Slide Weight Rating |
Slides sag under weight |
Select a slide with a higher weight capacity. |
| 3 |
Install Level |
Uneven drawer operation |
Use a level during installation to ensure an even fit. |
| 4 |
Follow Manufacturer’s Instructions |
Misaligned slides |
Reassess installation against the instructions provided. |
| 5 |
Use Quality Hardware |
Slides wear out quickly |
Invest in durable slides and hardware. |